Get the app
Minirun runs on an Apple-silicon Mac with macOS 15 or later, and on an iPhone running iOS 18 or later. It is free, it runs entirely on your device, and installing it does not install any model weights: the app is small, and the models are separate downloads that are often enormous.
- Mac
Download Minirun.dmg — about 11 MB, macOS 15 or later on Apple silicon — open it, drag Minirun to Applications, and open it. It keeps itself up to date.
- iPhone
Install TestFlight from the App Store, open testflight.apple.com/join/QuYTybjV on the phone, install Minirun. iPhone 15 Pro or later, iOS 18 or later. The source is on GitHub if you would rather build it yourself.
Add a model
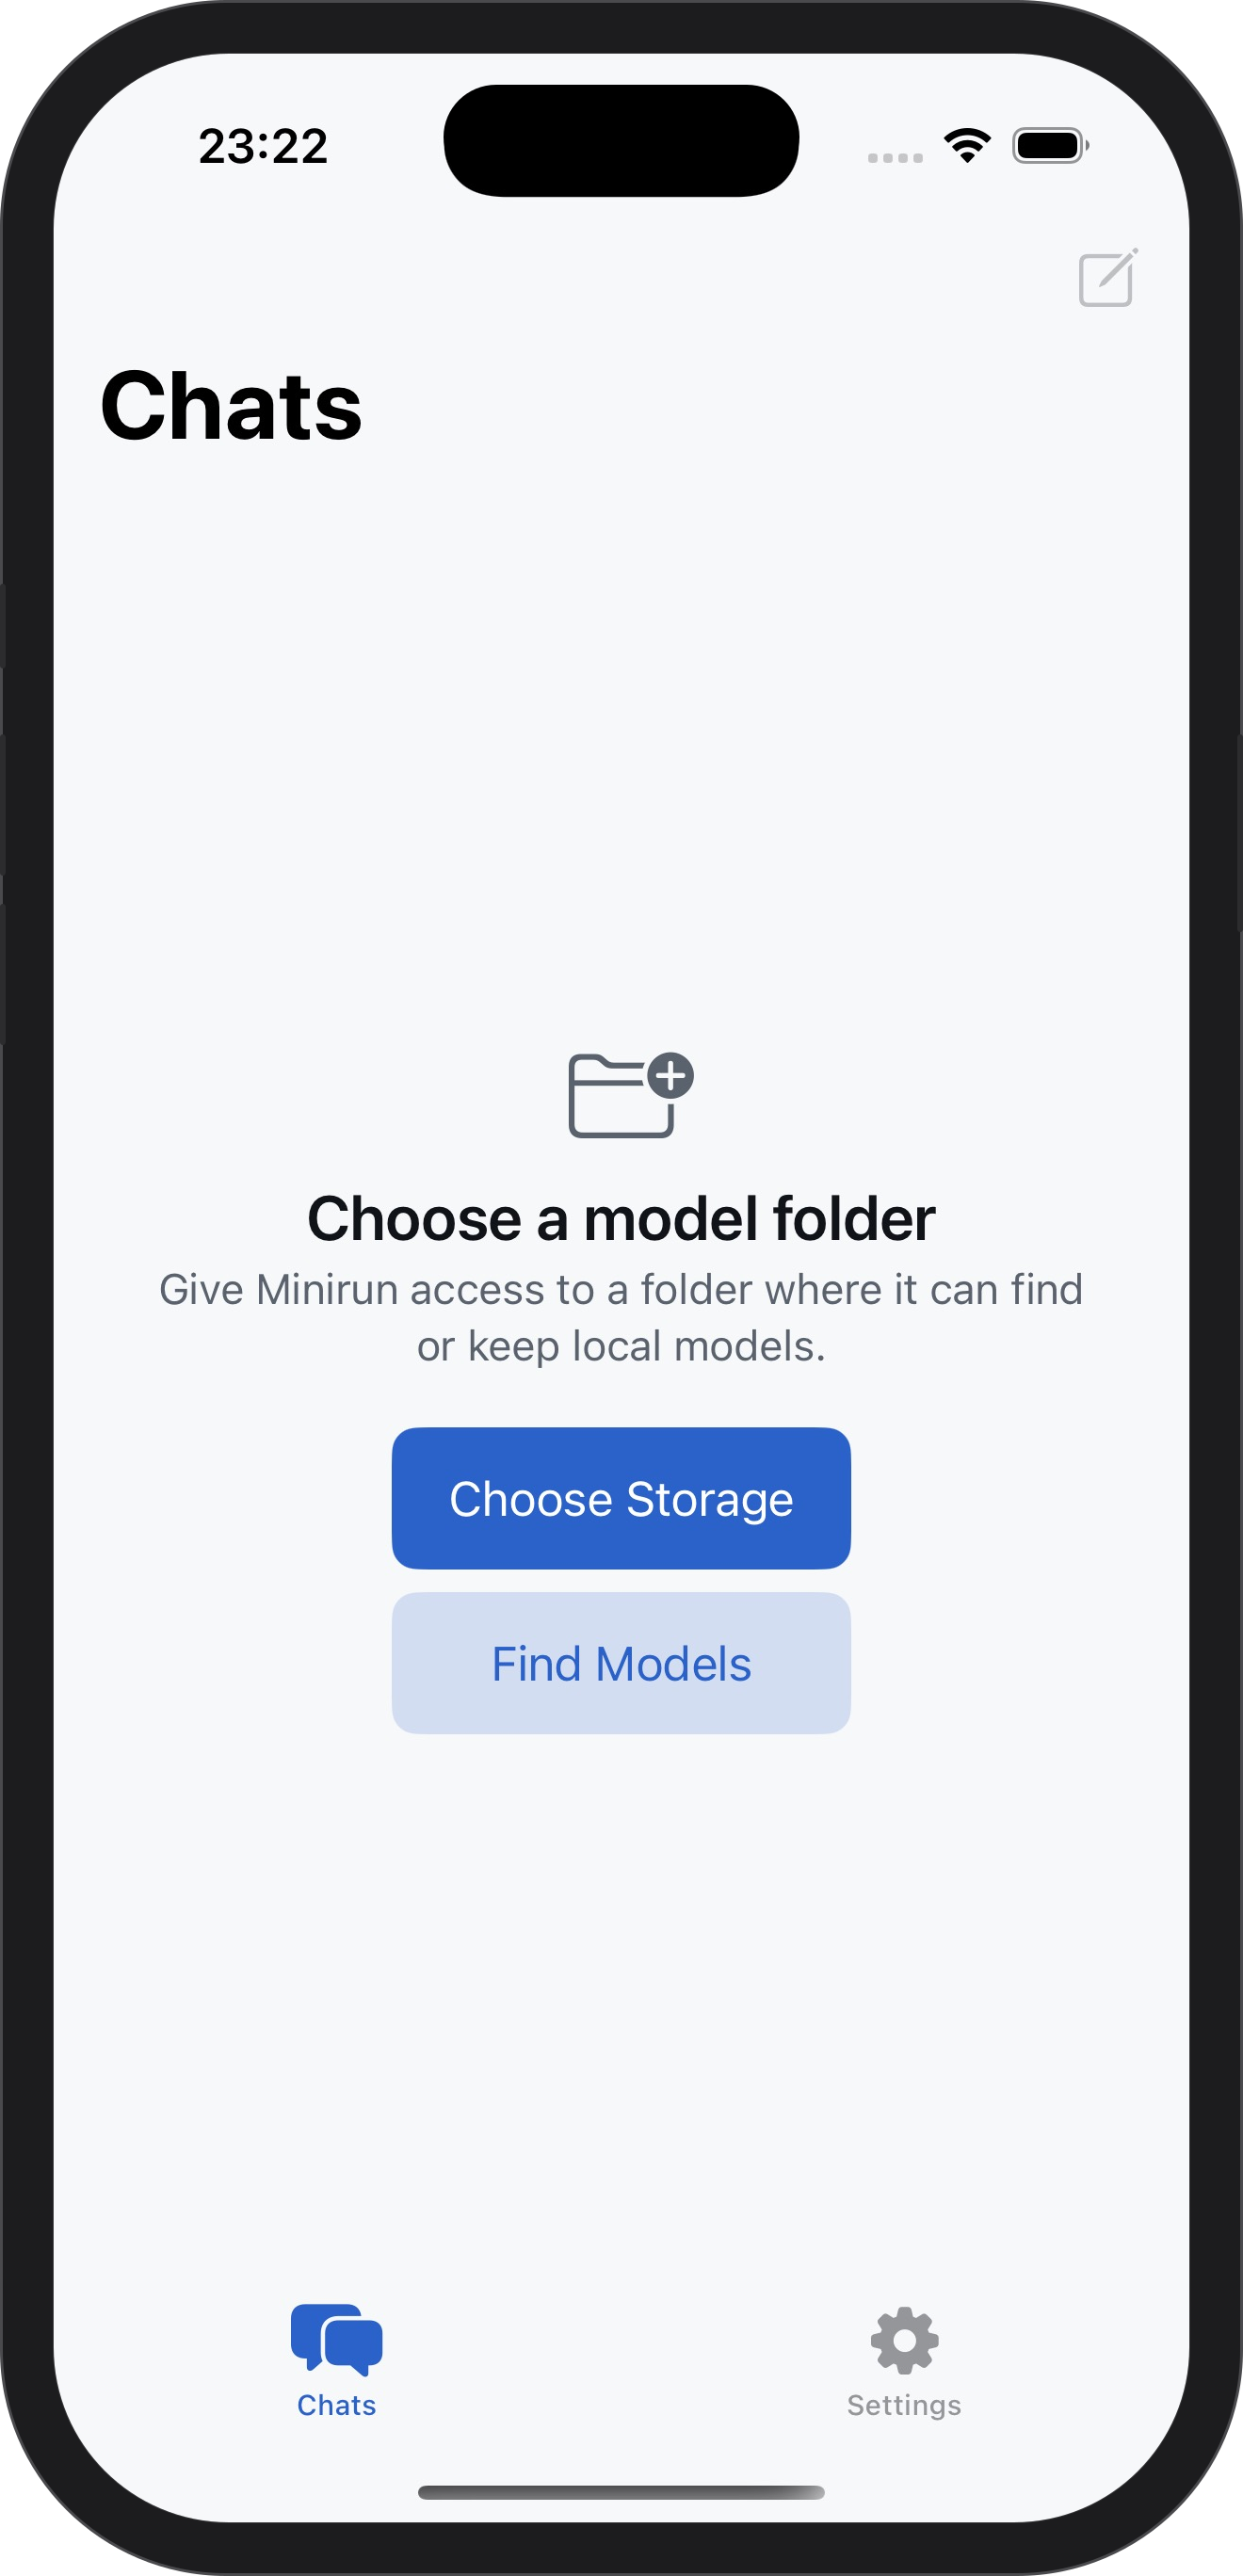
A new installation has no models, and that is the expected state. You either point Minirun at a container you already have, or download one from inside the app.
- Use a copy you already have
Open Storage, choose Add Folder, select the folder that holds the Minirun container through the system picker, and wait for the scan to finish.
- Or download one
Open Find Models, pick a published container, choose Download, and select a writable destination. Minirun checks free space and the plan before any transfer begins.
- Check it, then start a chat
Open the local copy and choose Verify all files — the model picker only offers copies that have had one. Then open New chat, pick the model, and set a memory budget — the dial in Chat settings — at or above the minimum the app shows for it.
- Memory budget
- The ceiling you give a run, set with the dial in Chat settings. The model's minimum must be no greater than the safe device limit Minirun shows for your device, which moves with the device and the current system load.
- Capacity
- Enough free space for the whole container, the in-progress transfer files, and normal filesystem headroom. Use the app's download preflight rather than a rounded catalog size.
- Folder access
- A folder you granted through the macOS or iOS system picker. A detected volume is not a granted location.
Choosing an external SSD
Internal storage is the simplest path: no cable, no bridge, no external power. It is also the smallest one you have, so anything approaching a terabyte lives on an external NVMe SSD that you grant to Minirun.
USB-C names a connector, not a data rate. The same connector can carry USB 2, USB 3, USB4, or Thunderbolt depending on the Apple device, cable, hub, and enclosure. Check the technical specifications for the exact Mac, iPhone, or iPad instead of inferring capability from the shape of the port.
- An NVMe SSD with room for the whole container and steady sustained reads. A headline peak says nothing about staying mounted and cool for an hour.
- An enclosure whose bridge matches your host: a USB 3.2 Gen 2 NVMe enclosure for a phone, or a Thunderbolt/USB4 NVMe enclosure for a Mac with the port to use it. A faster enclosure never upgrades a slower host.
- A short cable explicitly rated for the data mode you intend to use. Many USB-C charging cables carry only USB 2 data despite fitting the same connector.
- On iPhone, a powered USB-C hub or dock. The phone does not supply enough bus power to run an NVMe enclosure through a long streaming pass, so treat it as required equipment rather than an accessory.
- A ventilated metal enclosure with a correctly installed thermal pad, kept somewhere dry. Cooling that leaves condensation on the enclosure, cable, or connectors will end a run.
| Device path | Recommended starting point | Important limit |
|---|---|---|
| Apple-silicon Mac, internal | Use internal flash storage when its capacity is sufficient. | No external bridge or cable is involved. |
| Apple-silicon Mac, external | Use a direct Thunderbolt/USB4 NVMe enclosure and matching certified cable, or a USB 3.2 Gen 2 10 Gb/s NVMe enclosure and cable. | The slowest hop sets the link mode. A hub, cable, or USB fallback can cap a faster enclosure. |
| iPhone or iPad with USB 3 | Confirm that Apple's specifications for the exact model explicitly state USB 3, then use a 10 Gb/s-rated data cable, a compatible enclosure, and a powered hub or dock. | For iPhone models whose specifications list USB 3, Apple specifies up to 10 Gb/s. The port does not become Thunderbolt when connected to a Thunderbolt enclosure, and it cannot bus-power an NVMe enclosure through a long pass. |
| iPad with Thunderbolt/USB4 | Use an enclosure and certified cable that match the exact iPad's published Thunderbolt or USB4 mode. | Do not transfer an iPad specification to an iPhone or to another iPad model; external power may still be required. |
| USB 2 or Lightning mobile path | Use for app access and small transfers only. | It may mount supported storage, but it is not a practical path for sustained streaming of very large Minirun containers. |
Format and connect external storage
For an Apple-only SSD, APFS is the preferred modern format. Use ExFAT when the same volume must also be writable on Windows. Apple documents APFS, encrypted APFS, HFS+, ExFAT, and FAT variants for external storage on iPhone; the device must expose a single data partition. Reformatting erases the drive, so move any existing data first.
- Confirm the host specification
Look up the exact Apple device and identify its USB or Thunderbolt data mode.
- Connect the complete path
Use the intended cable, hub or dock, enclosure, and power supply. Confirm that Finder on Mac or Files on iPhone and iPad sees the volume consistently.
- Grant the model folder
In Minirun Storage, choose Add Folder and select the intended folder through the system picker.
- Read the app's preflight
Use its reported access, free-space, model minimum, and safe device limit. Do not replace those checks with packaging claims.
- Keep long operations stable
Keep the device powered, the app active when the platform requires it, and the storage path connected during download, verification, and execution. A container of this size takes far longer to download than to check.
A supported Mac, iPhone, or iPad whose actual port mode is known.
Rated for the USB or Thunderbolt mode you intend to use.
Optional on a stable Mac path; often needed for an iPhone and a bus-powered NVMe enclosure.
A compatible bridge with stable firmware and cooling.
One supported data volume with sufficient free space.
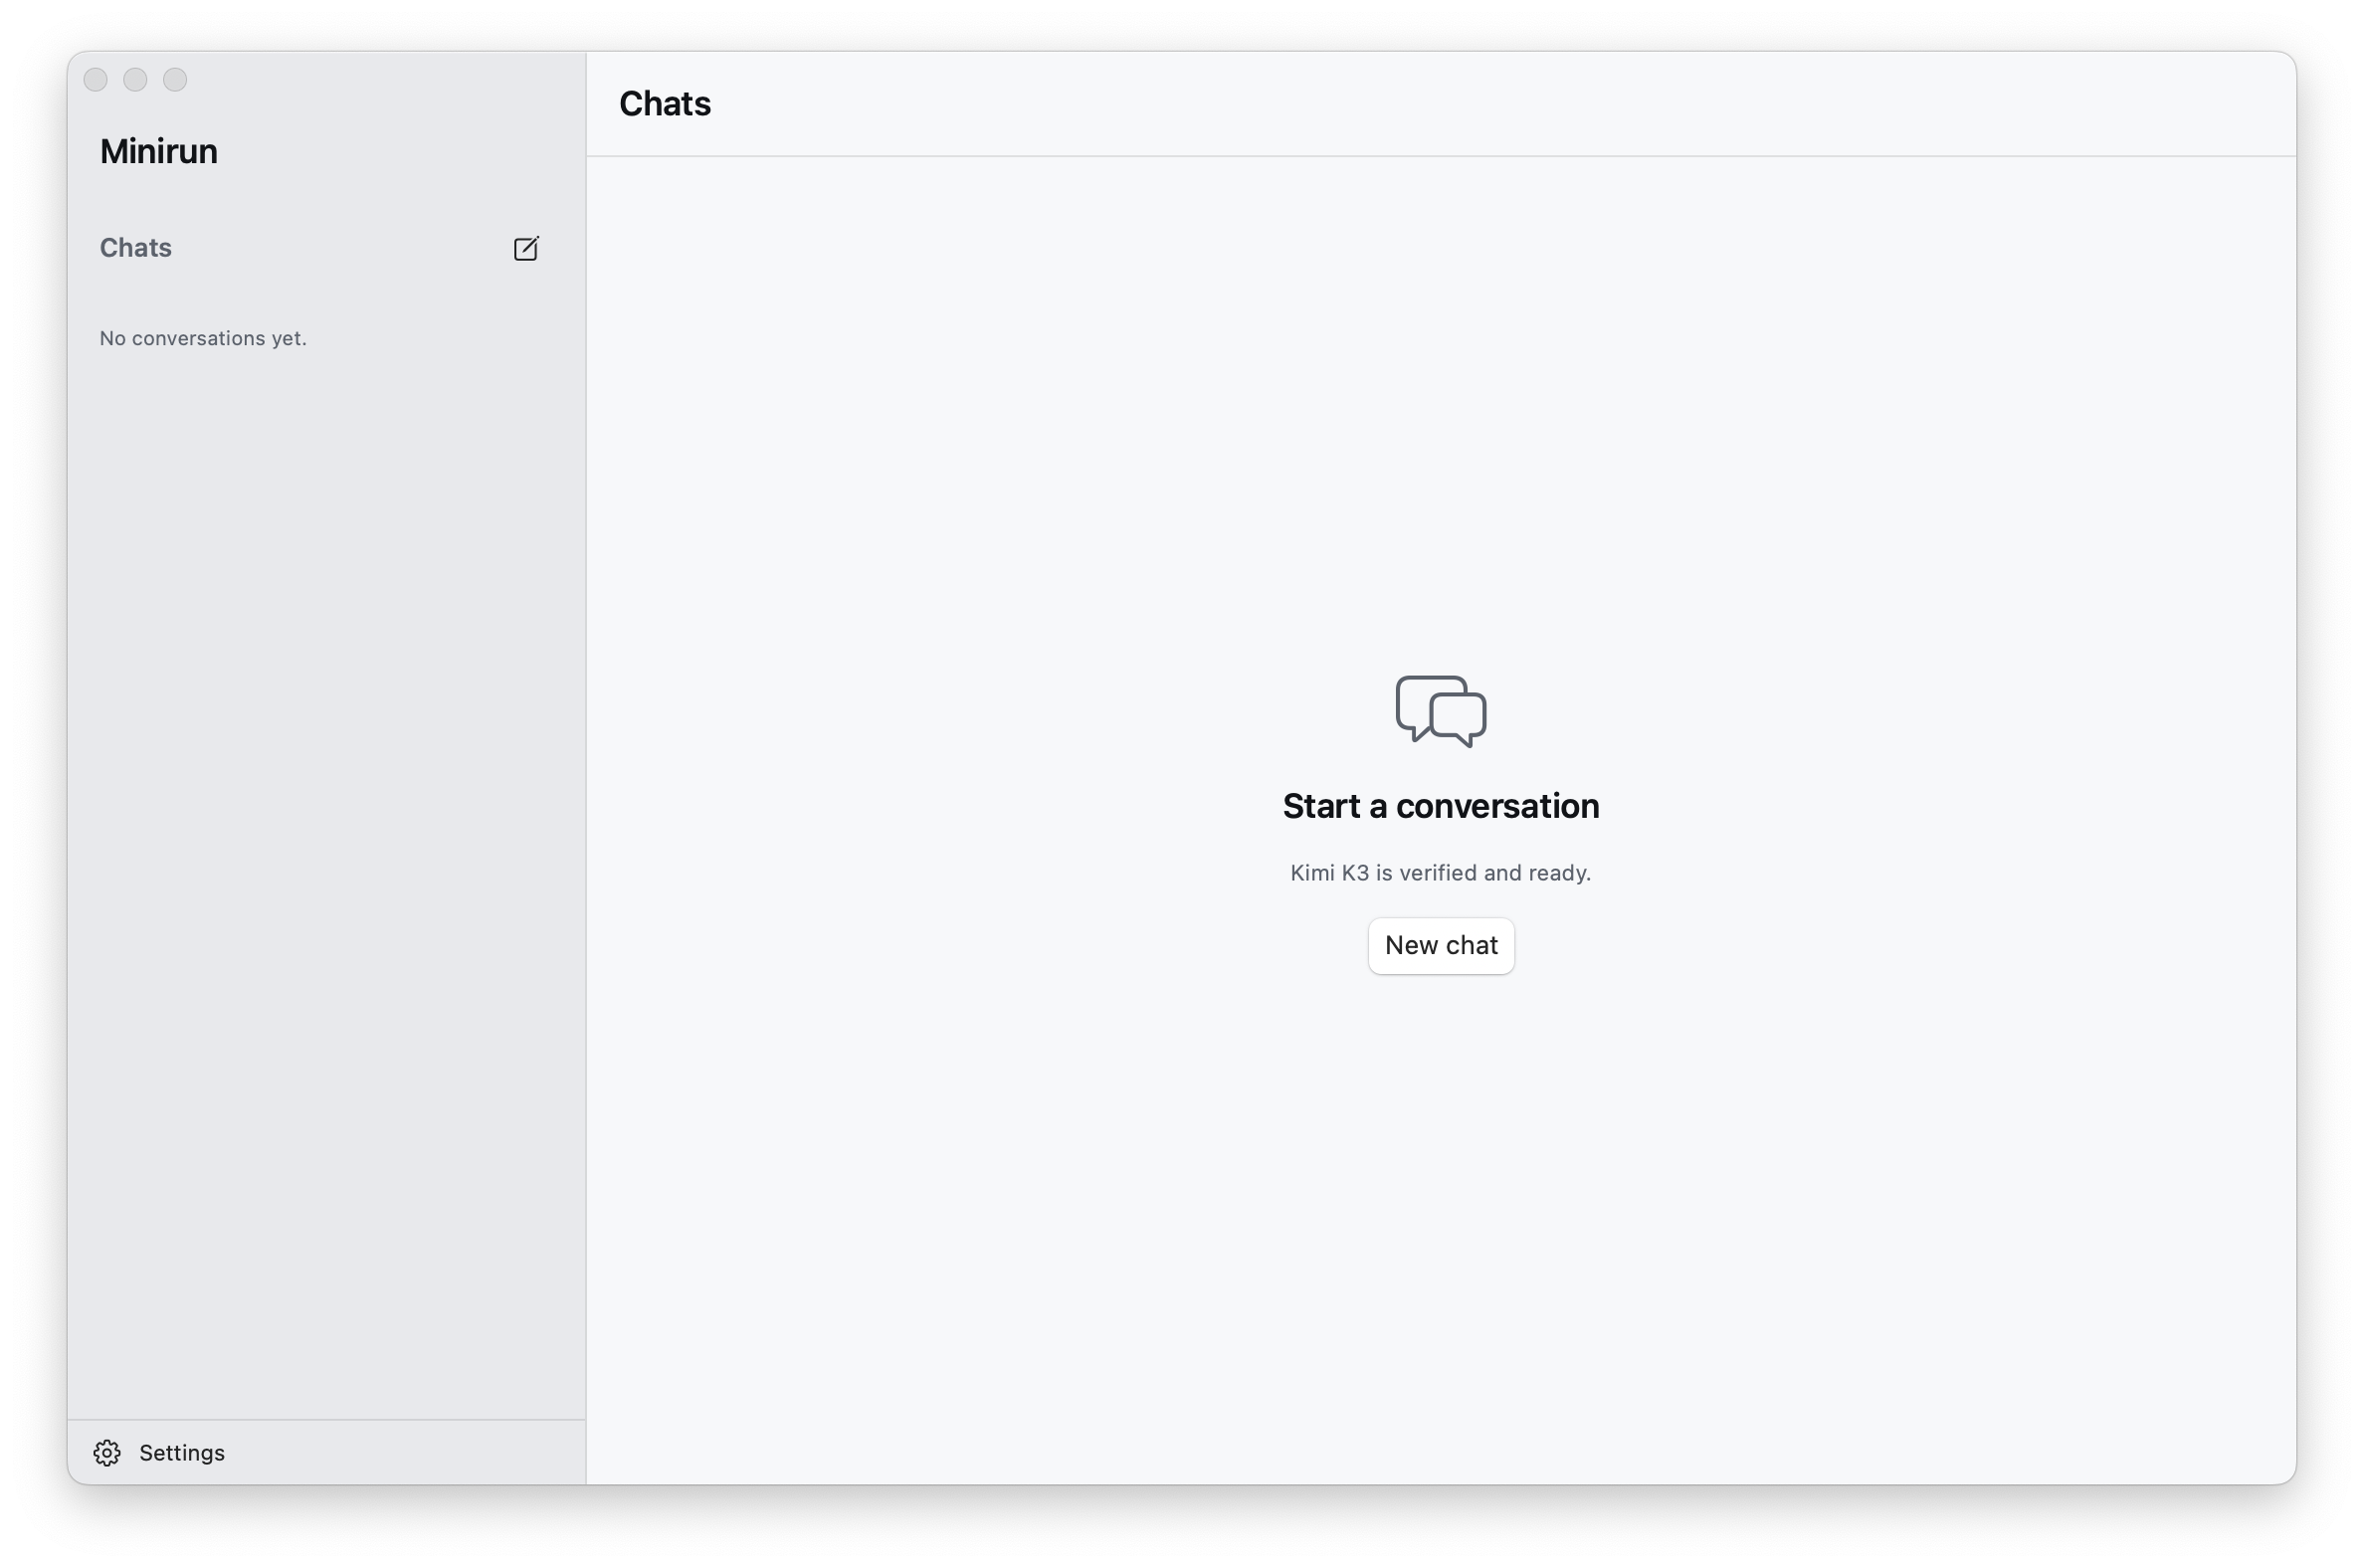
Expected first-launch state
A new installation may have no local models. That is normal. Models becomes useful after you add a storage location or open Find Models. The conversation picker stays empty until at least one local model is both fully checked and supported for chat on this device.